

Embed a live REPL on a website#
JupyterLite includes a minimal REPL application by default, based on the JupyterLab
Code Console.
Hint
Check out the Quick Start Guide to learn how to deploy your own JupyterLite website and have full control on the environment and extensions installed.
The snippets below use the public facing jupyterlite.github.io/demo as an example.
Embedding the REPL on another website#
Once you have a JupyterLite deployment ready to use, you can embed the REPL on any website with the following code snippet:
<iframe
  src="https://jupyterlite.github.io/demo/repl/index.html"
  width="100%"
  height="100%"
></iframe>
Configuration#
The behavior and the look of the REPL can be configured via URL parameters.
Select a kernel by default#
To avoid the kernel selection dialog and choose a given kernel by default:
<iframe
  src="https://jupyterlite.github.io/demo/repl/index.html?kernel=python"
  width="100%"
  height="100%"
></iframe>
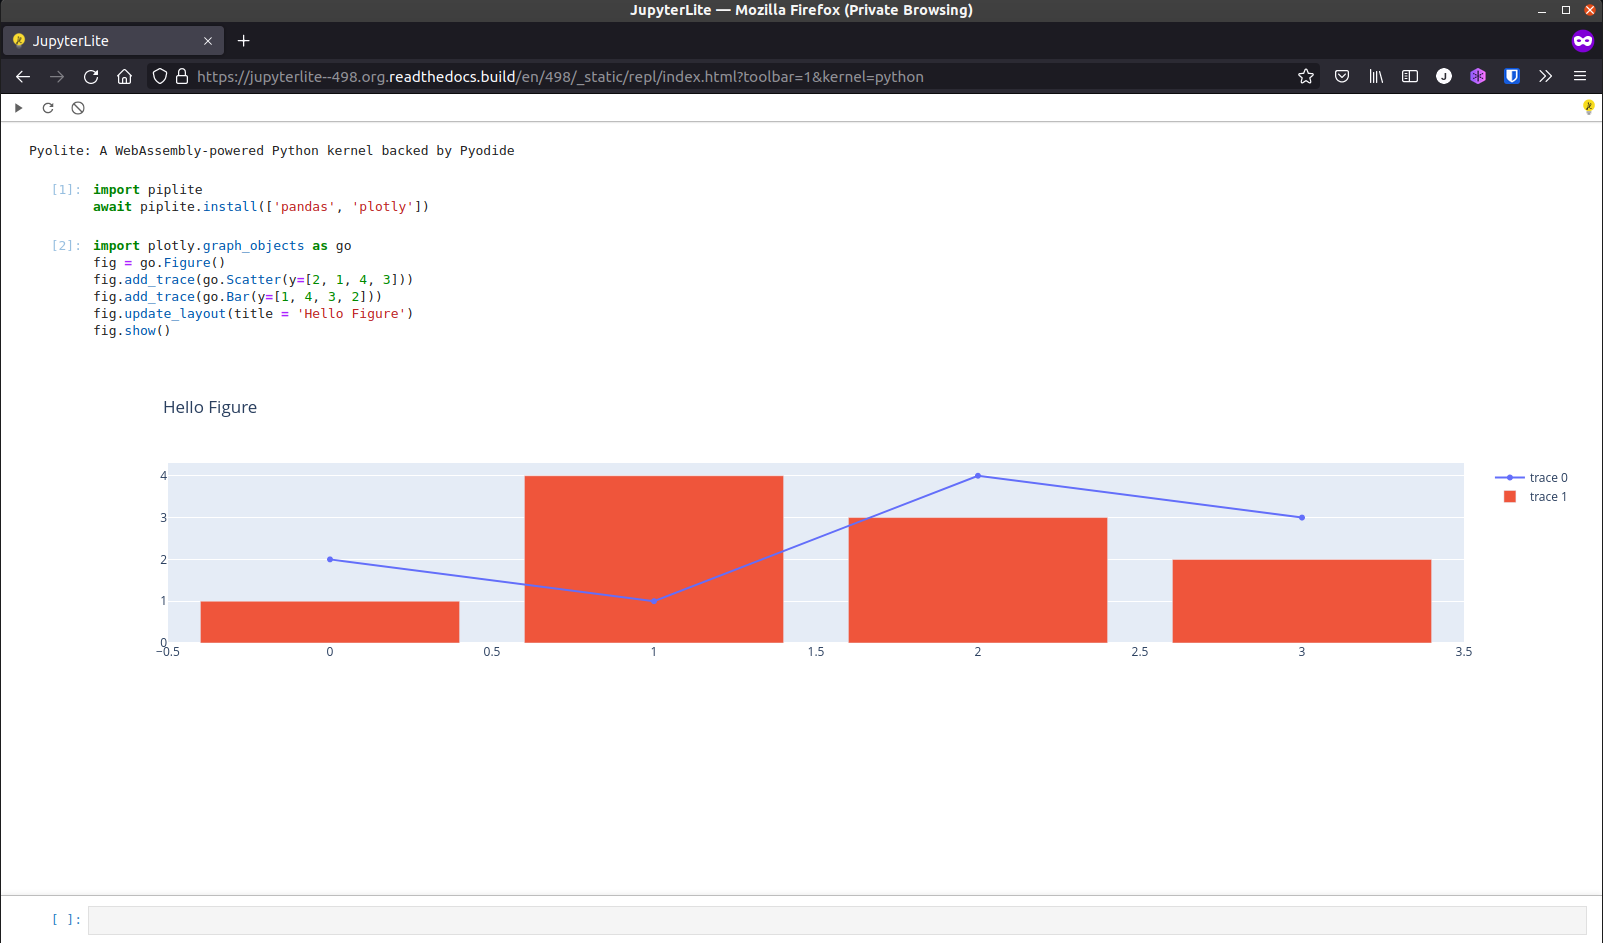
Enable the toolbar#
The toolbar can be enabled (opt-in) to add a couple of useful buttons:
<iframe
  src="https://jupyterlite.github.io/demo/repl/index.html?toolbar=1"
  width="100%"
  height="100%"
></iframe>
When enabled, the toolbar includes a Copy Shareable Link button that updates the page
URL with the current state of the REPL (prompt content, kernel, theme and any
non-default options documented on this page) and copies the resulting link to the
clipboard. A notification confirms the link was copied.
To remove the share button from the toolbar of your deployment, disable its toolbar item
with the following settings override in
overrides.json:
{
  "@jupyterlab/console-extension:tracker": {
    "toolbar": [{ "name": "copyShareableLink", "disabled": true }]
  }
}
Auto execute code on startup#
Custom code can automatically be executed on startup:
<iframe
  src="https://jupyterlite.github.io/demo/repl/index.html?kernel=python&code=import numpy as np"
  width="100%"
  height="100%"
></iframe>
Populate the prompt without executing#
To populate the prompt cell without executing the code:
<iframe
  src="https://jupyterlite.github.io/demo/repl/index.html?kernel=python&code=import numpy as np&execute=0"
  width="100%"
  height="100%"
></iframe>
Themes#
It is also possible to select a theme, for example to use JupyterLab Dark:
<iframe
  src="https://jupyterlite.github.io/demo/repl/index.html?theme=JupyterLab Dark"
  width="100%"
  height="100%"
></iframe>
Additional themes can be installed with pip if they are distributed as a JupyterLab
prebuilt extension. For example:
pip install jupyterlab-gt-coar-theme
See the how-to guides for more details on how to customize the environment and add more themes and extensions.
Clear cells on execute#
To automatically clear the previously executed cells on execute, set the
clearCellsOnExecute parameter to 1:
<iframe
  src="https://jupyterlite.github.io/demo/repl/index.html?clearCellsOnExecute=1"
  width="100%"
  height="100%"
></iframe>
Clear code content on execute#
To automatically clear the code content in the prompt cell on execute, set the
clearCodeContentOnExecute parameter to 1:
<iframe
  src="https://jupyterlite.github.io/demo/repl/index.html?clearCodeContentOnExecute=1"
  width="100%"
  height="100%"
></iframe>
Hide code input#
To hide the input cell of the executed cells, set the hideCodeInput parameter to 1:
<iframe
  src="https://jupyterlite.github.io/demo/repl/index.html?hideCodeInput=1"
  width="100%"
  height="100%"
></iframe>
Prompt cell position#
To change where the prompt cell is placed, set the promptCellPosition parameter to
top, bottom, left, or right:
<iframe
  src="https://jupyterlite.github.io/demo/repl/index.html?promptCellPosition=left"
  width="100%"
  height="100%"
></iframe>
Single Executable Cell#
By configuring the REPL with the options mentioned above, the REPL becomes a single executable cell:
<iframe
  src="https://jupyterlite.github.io/demo/repl/index.html?toolbar=1&kernel=python&promptCellPosition=left&clearCellsOnExecute=1&hideCodeInput=1&clearCodeContentOnExecute=0&showBanner=0&code=import%20numpy%20as%20np&execute=0"
  width="100%"
  height="100%"
></iframe>