Using an existing JupyterLite deployment#
If this is the first time you hear about JupyterLite, you might want to first try it out.
How is JupyterLite different than JupyterLab?#
If you’re using a JupyterLite site, there isn’t much to know. It works like a regular, server-backed JupyterLab site, except:
The list of kernels, usually visible from the Launcher as different Notebook flavors, will be different. See the Kernels section below.
Your data is written to in-browser storage
though you may be able to copy
None of your data leaves your browser unless…
Extensions are installed and enabled, and send data to external services
Your Notebooks include code that uses the browser’s
fetchmechanism
Using JupyterLite#
Using JupyterLite is simple: just visit the URL of a deployment in a web browser!
There are a couple of public-facing JupyterLite instances out there, with different sets of extensions, packages and content:
The JupyterLite
mainsite, built on top of themainbranch of the jupyterlite repo, deployed to ReadTheDocs: https://jupyterlite.rtfd.io/en/latest/try/lab. In fact it lives really next to this current documentation, and you can launch the different interfaces via theTrybuttons in the top left corner of the page.The JupyterLite
demorepository: https://github.com/jupyterlite/demo. This repo can also be used as a template to create a your website, see the quick-start guide to learn how to deploy your own.The Try Jupyter deployment: https://jupyter.org/try-jupyter/lab/
The p5 notebook is a customized version of JupyterLite focused on simplicity and the use of the p5.js library.
A deployment can have one or more applications available.
Applications#
JupyterLab#
JupyterLab is the next-generation user interface for Project Jupyter offering all the familiar building blocks of the classic Jupyter Notebook (notebook, text editor, file browser, rich outputs, etc.) in a flexible and powerful user interface. JupyterLab will eventually replace the classic Jupyter Notebook.

Jupyter Notebook#
Jupyter Notebook is a document-centric UI for creating, editing and running Jupyter notebooks.

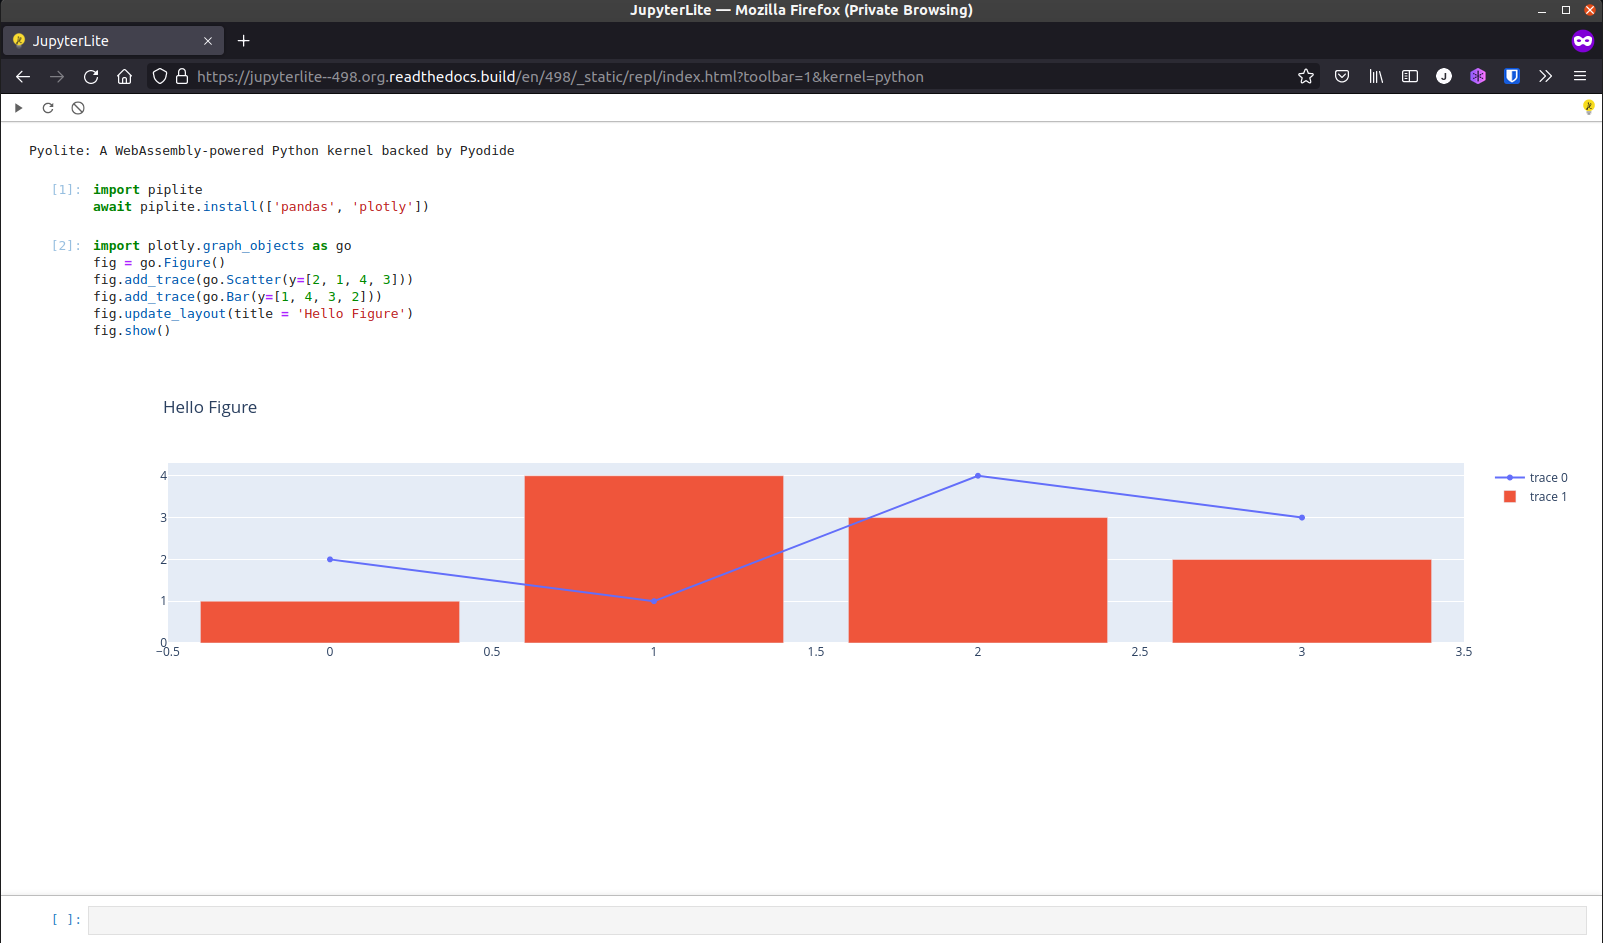
REPL#
The REPL application is a minimal UI based on the JupyterLab code console to easily
execute code in the browser.
Kernels#
JupyterLite Kernels implement Jupyter Kernel Messaging in the browser with the
help of mock-socket and WebAssembly, without relying on
any external infrastructure.
The JupyterLite contributors develop and maintain the following kernels:
a Python kernel based on Pyodide: jupyterlite/pyodide-kernel
a Python kernel based on Xeus Python
a R kernel based on Xeus R
There are a few more third-party in-browser kernels also compatible with JupyterLite. See this GitHub discussion for more information.
Check out the How-to Guides of the documentation to learn how to use and configure kernels.
Working with files#
By default the files you create in JupyterLite are stored in the browser’s local storage (IndexedDB). They are not shared between different JupyterLite website unless they are deployed on the same domain, and you use the same browser.
Uploading files#
JupyterLite supports uploading files from your local machine to the browser’s local
storage. This can be achieved by dragging and dropping files from your local machine to
the file browser, or by using the Upload button in the file browser.
This is useful for example when you want to upload a dataset to use in a notebook, like a CSV file.
However please note that the browser’s local storage has a limited capacity, and you might not be able to upload large files. But smaller files up to ~50MB should be fine.
Note
To learn more about the browser’s storage limits, check out the browser storage reference page on MDN.
Accessing existing files#
Some JupyterLite deployments might provide access to some files by default. These files are stored as static assets on the server, and are made available to the user via the JupyterLite file browser. They can be edited, but the changes are not saved back to the server. Instead a local copy is created in the browser’s local storage just like when creating a new file.
Note
If you would like to revert to the original file, you can delete the local copy.
This can be achieved by right-clicking on the file in the file browser and selecting Delete.
Note
If you are a site deployer, check out the guide to learn how to make files available to users.
Installing the JupyterLite application#
JupyterLite can also be installed as an application if it is supported by the browser and the operating system.
When you visit a JupyterLite website, you can install it as an application by clicking
on the Install button in search bar:

Note
If the Install button is not visible, make sure to check with another browser.
Example on Linux with Gnome#
Once installed, the JupyterLite application can be launched via the overview on Gnome:

The application will then be opened in a new window like a regular desktop application:

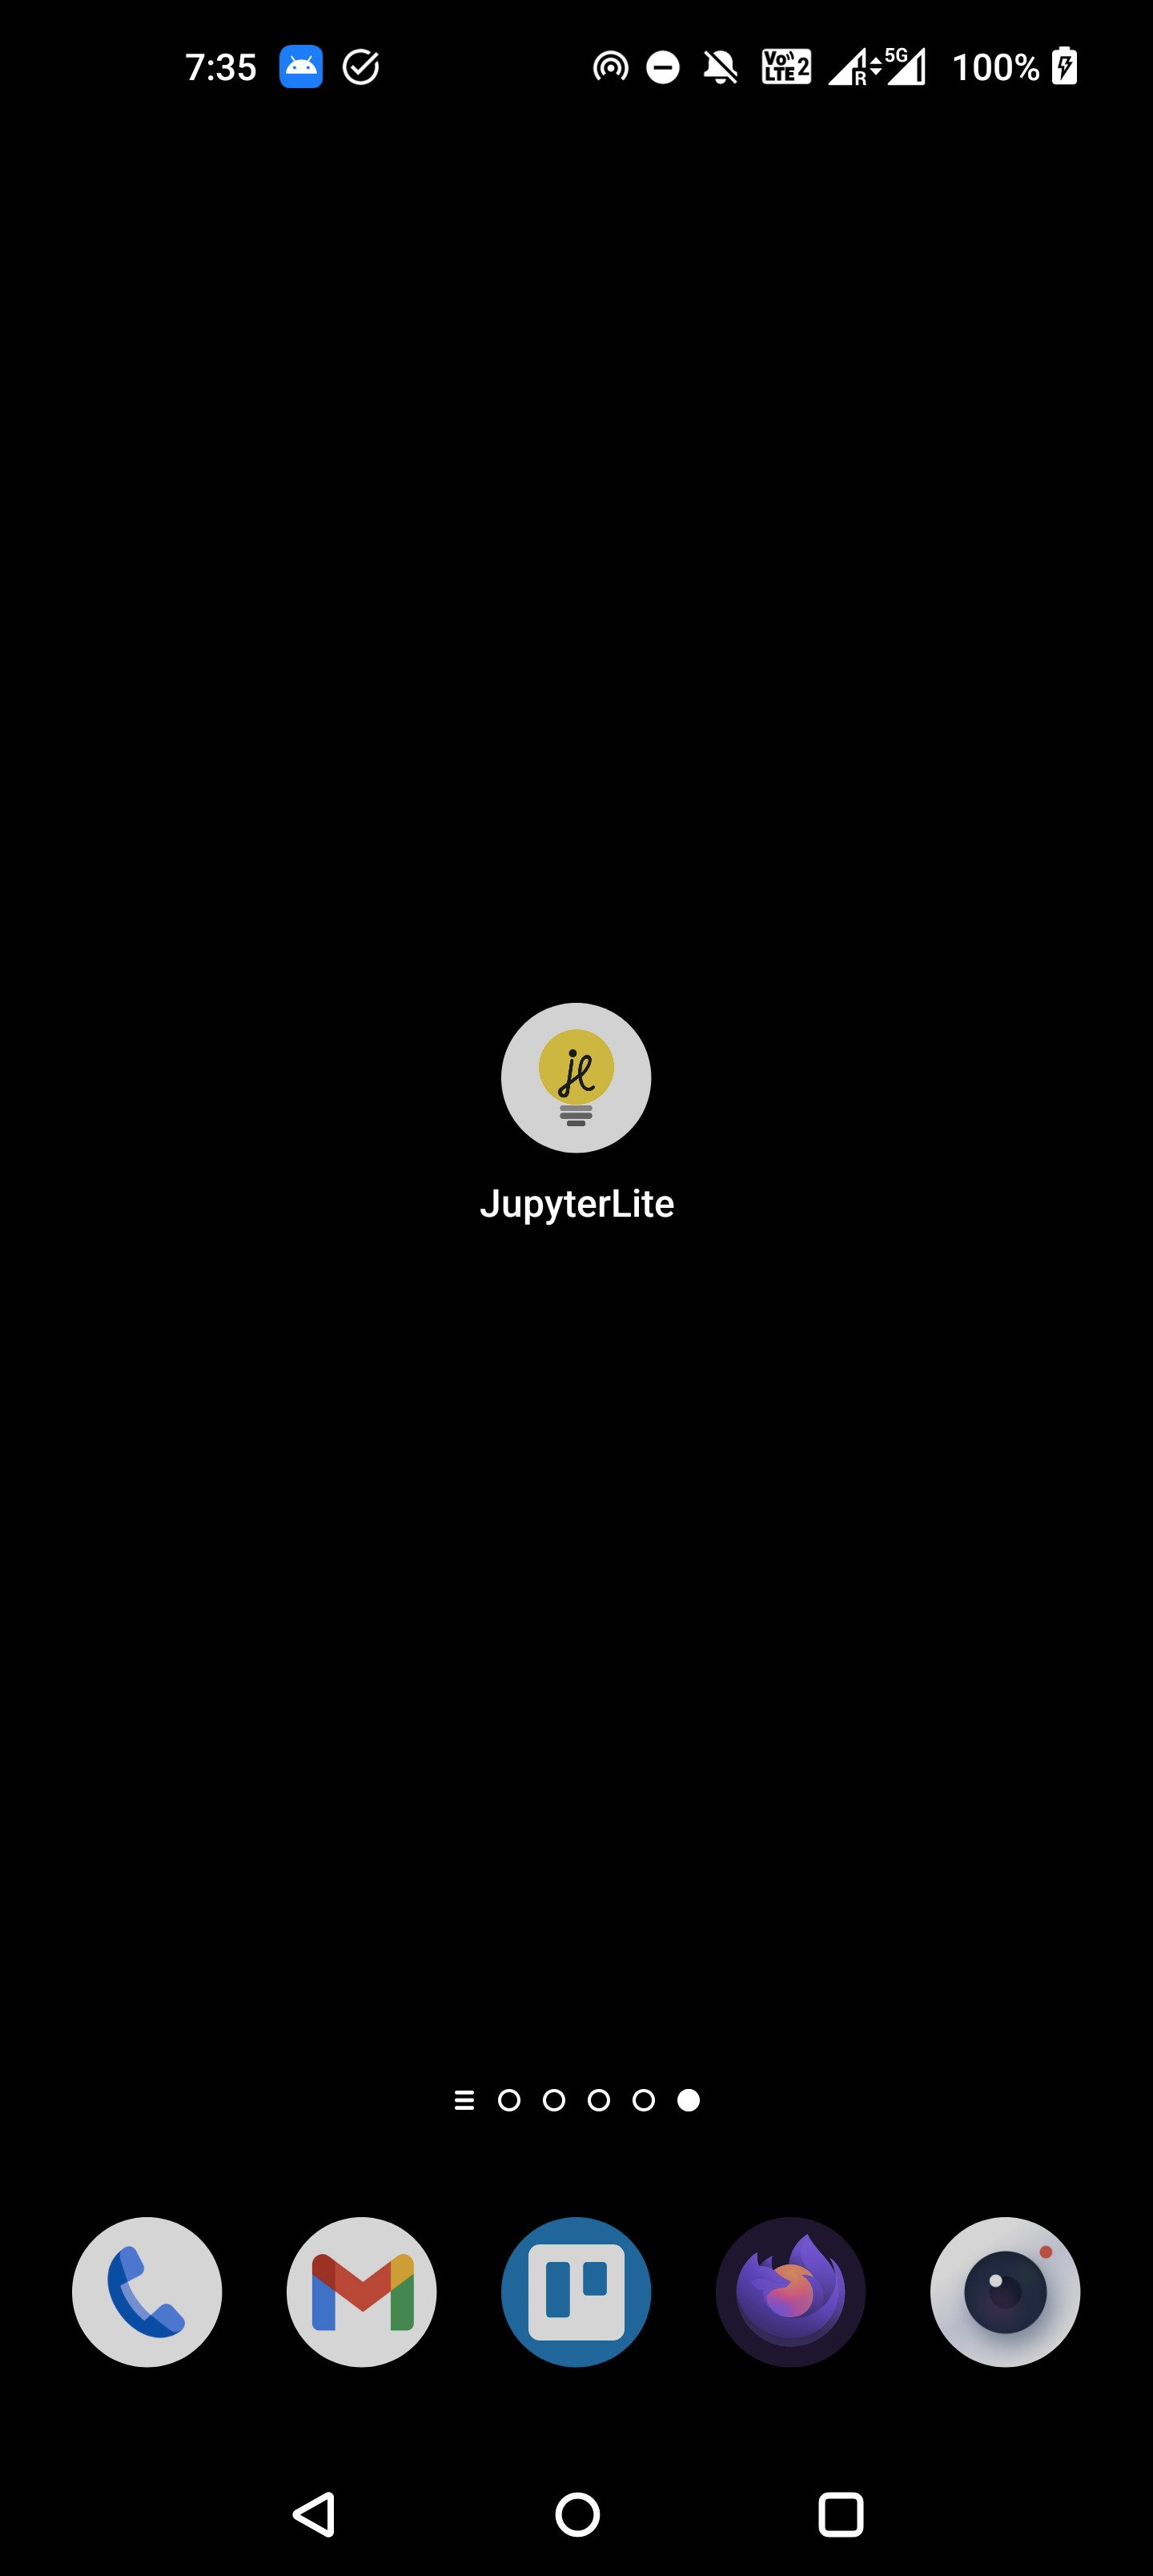
Example on Android#
It is also possible to install the JupyterLite application on mobile devices.
On Android it will look like the following:
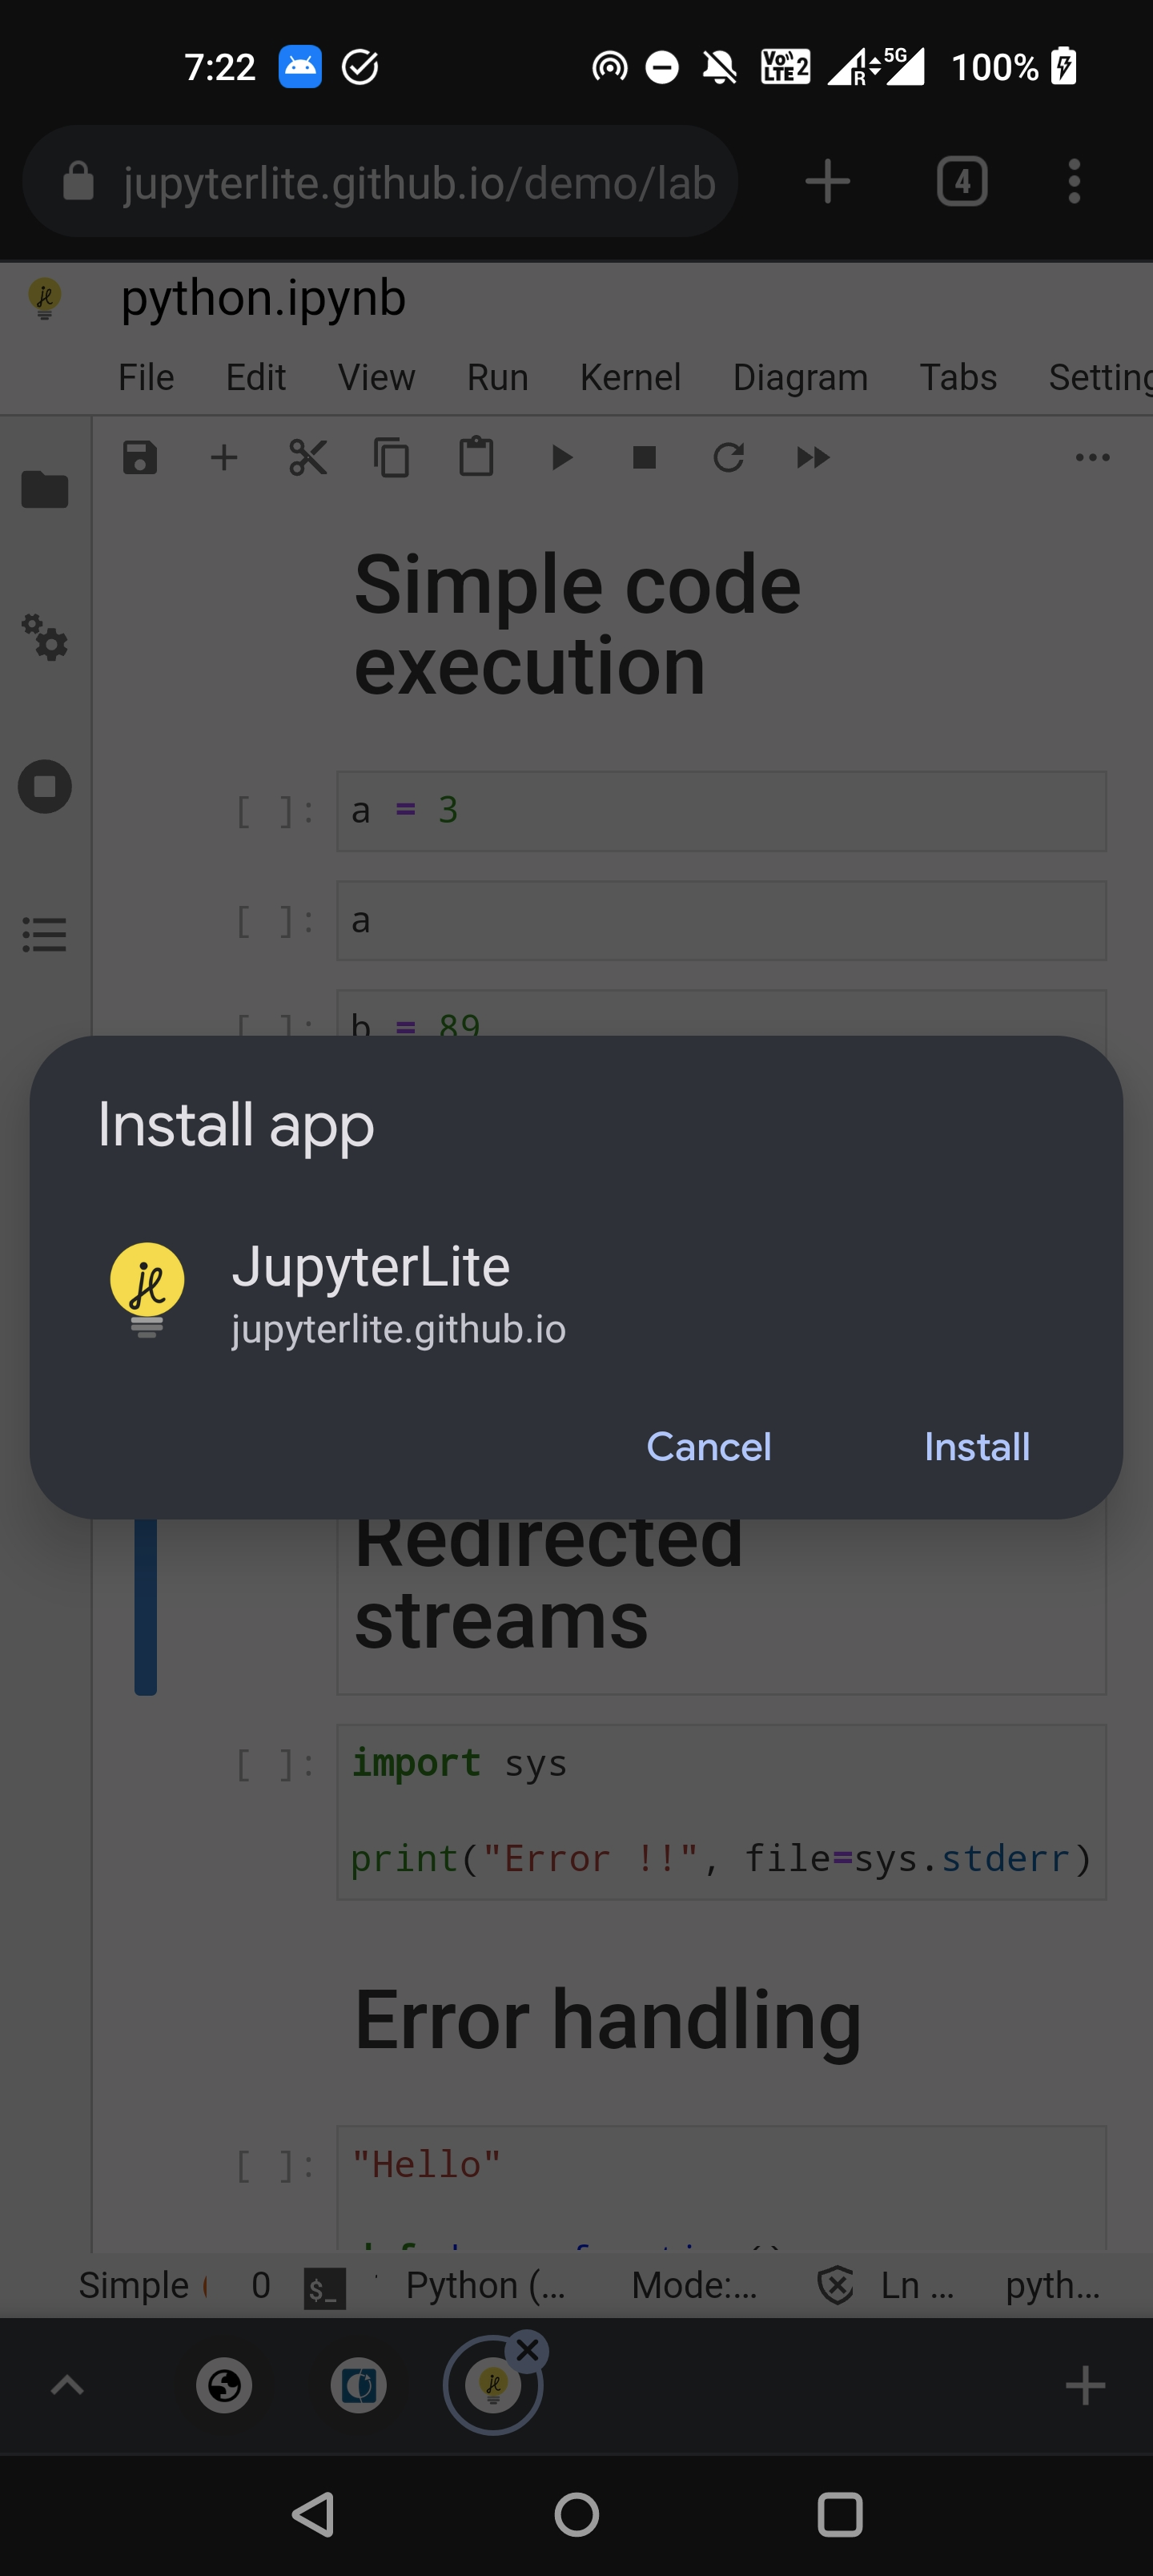
After clicking on the Install button, the application will be available on the home
screen: